Essential Parts of a Tent – Know Before You Go
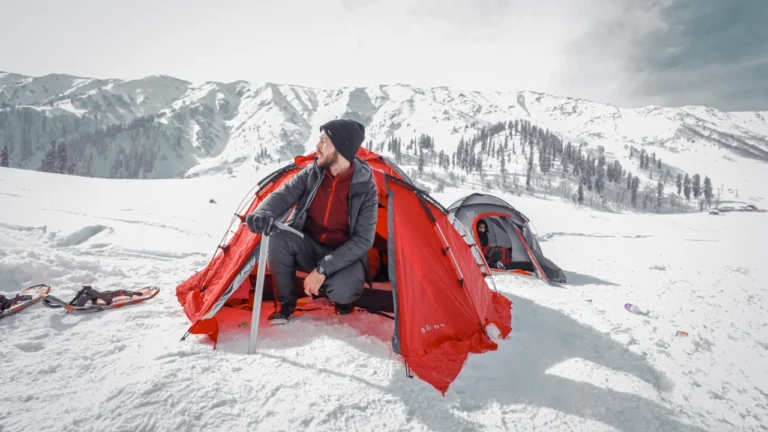
When you’re camping, your tent becomes your temporary house, offering both protection from the outside elements and the much-needed privacy from those around you. Understanding how each part of the tent works and how they fit together is crucial for a smooth camping experience. You wouldn’t want to grab just any tent and start your journey without knowing the purpose of each component. It’s important to know the guide to pitching the tent so you can look like a pro when you set up your tent in the wild.
Whether you’re venturing out for trekking or enjoying a more relaxed holiday at a campsite, the right tent is essential for your comfort. Dome tents, A-Frame tents, Geodesic, and Semi geodesic tents are just some examples of the wide range of tents available, each designed for specific types of adventures. For those who enjoy backpacking, backpacking tents suit your needs best, offering portability and ease. The choice of materials and functions in your tent will depend on your needs and preferences, ensuring it acts as a well-coordinated functional unit throughout your journey.
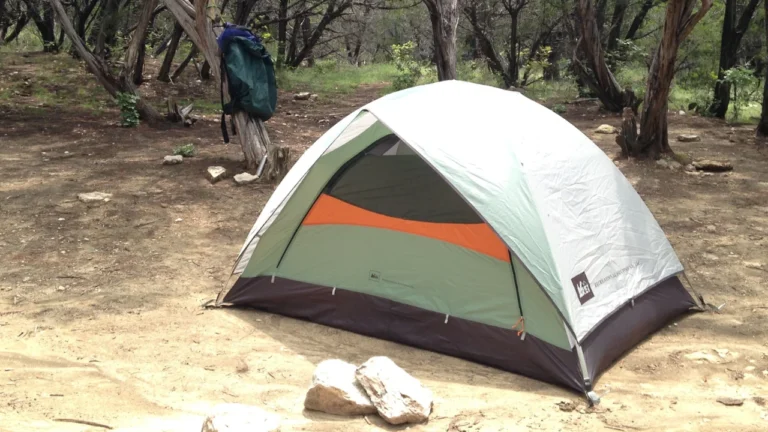
Inner Tent
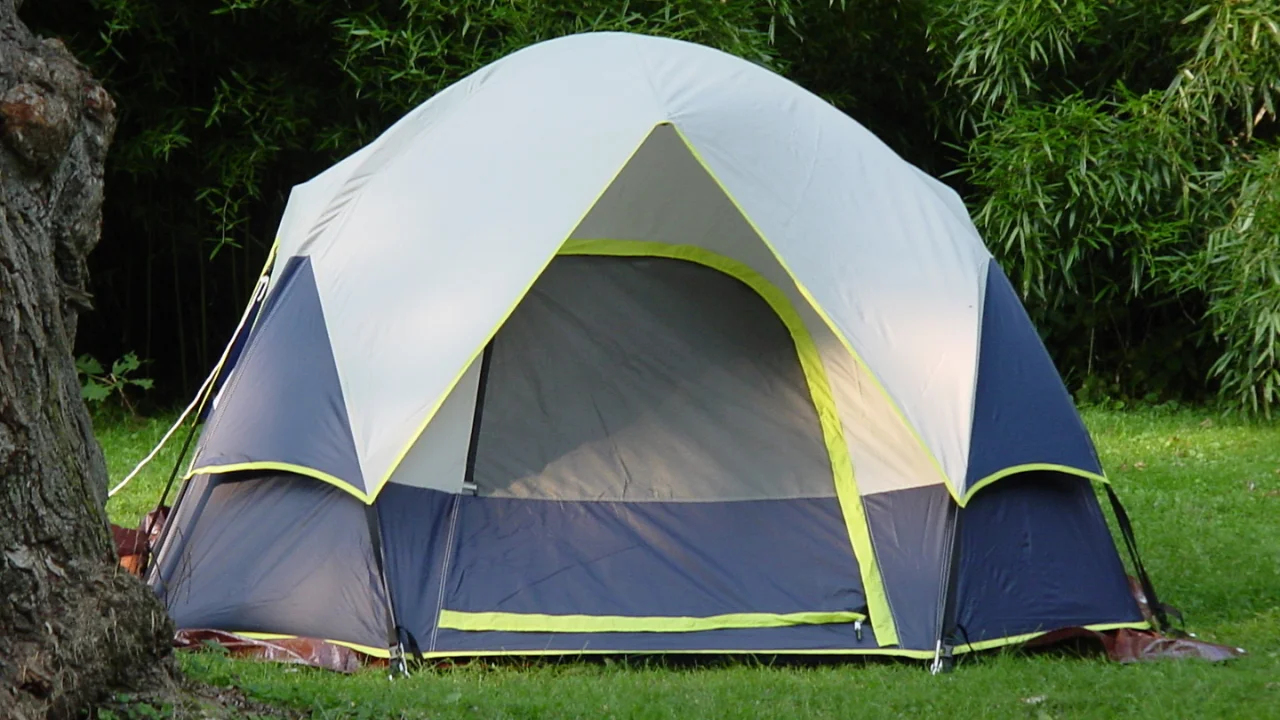
The inner tent is crucial for providing comfort and safety during your camping trip. It serves as your sleeping area and plays a key role in regulating the indoor climate. The mesh material, often made from polyamide or polyester, helps with vapor permeability, ensuring a comfortable climate by quickly removing moisture. This helps prevent the buildup of condensation inside the tent, keeping the interior dry. A mosquito net at the entrance offers extra protection from insects. The ripstop material used in the fabric ensures the textile tension is balanced, helping the tent retain its space and structure. Our range of inner tents includes options with airy material for warm temperatures, as well as thicker material for cool temperatures, providing the right balance of density and moisture control. The tent floor, an important part of the inner tent, is designed to withstand high stress and pressure from the ground and can handle a water column of at least 3,000 mm, ensuring the tent stays robust and durable.
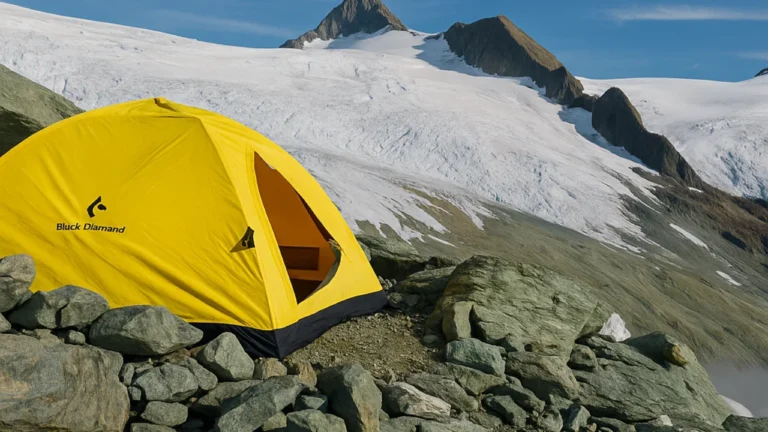
Outer Parts of a Tent
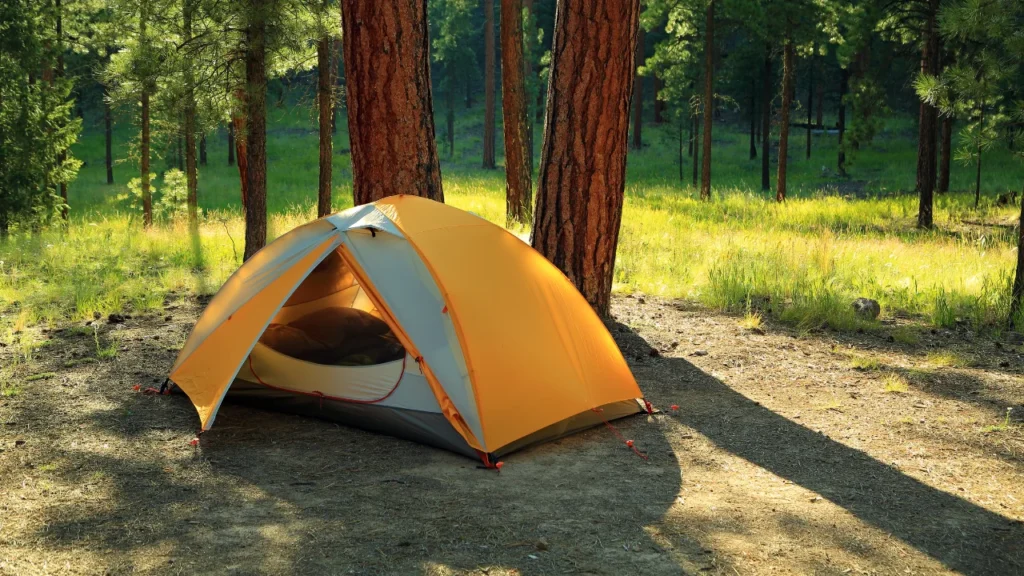
The outer shell of a tent is designed primarily to provide weather protection, ensuring that you stay dry and safe regardless of the elements. The choice of materials and coatings used depends on the intended use of the tent, offering various material variants for different needs. For those who prefer to carry all their camping gear in a rucksack, a backpacking tent is the ideal choice. These tents are lighter, smaller, and easier to set up, making them perfect for long treks. They are also designed to be compressed into a neat package, allowing them to fit compactly into backpacks, making them easy to carry over long distances.
Rain-Fly
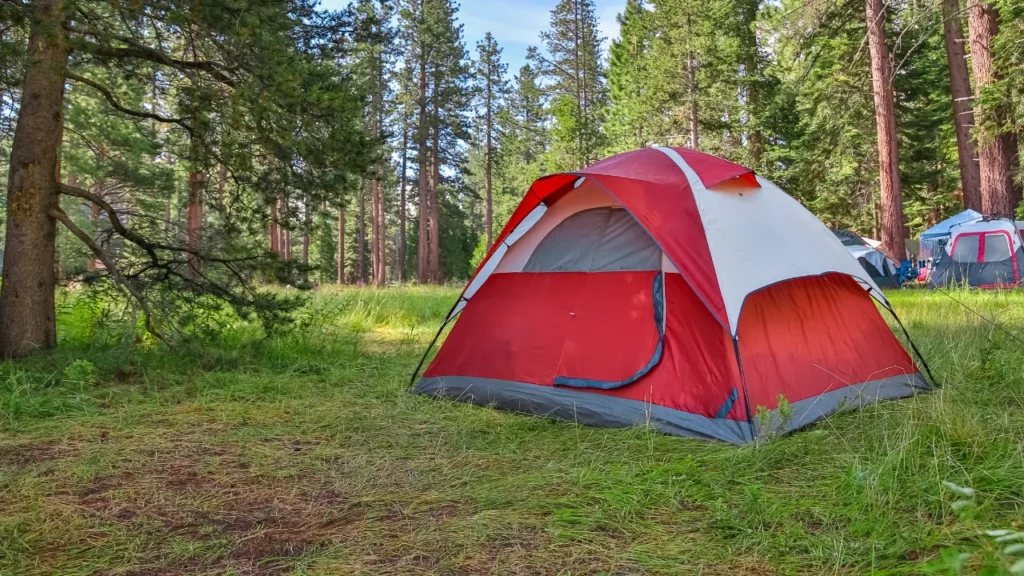
The rain-fly is the outermost layer of your tent, acting as a waterproof cover that resists both rain and wind. Its primary purpose is to keep the outer tent dry by allowing water to run off its shape, ensuring you stay protected from the elements. I’ve found that a well-designed rain-fly not only shields you from heavy rain but also helps stabilize the tent during strong winds, making it an essential covering for any outdoor adventure.
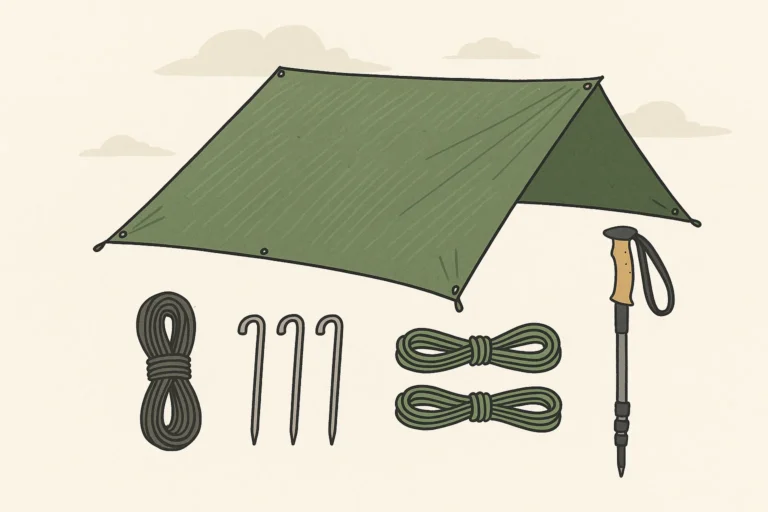
Tent Poles
Tent poles are the basic framework that hold up the outer tent, giving it shape and a stable structure. Made from lightweight yet durable materials like metal, plastic, or composite, these poles are designed to withstand high loads caused by wind or rain. During my camping trips, I’ve found that easy-to-handle poles make setup quick and hassle-free. Alongside the frame, pegs or stakes—small rods or spikes made of wood, metal, or other materials—play a crucial role. The top of each stake has a hook or hole where guy ropes are attached, while the lower, sharp point is drilled into the ground to secure the tent.
The Stabilizers: Guy Lines
Guy lines are cords attached to the outer tent and anchored to the ground, providing essential support and stability to withstand windy conditions. Made from low-stretch canvas material, these lines maintain their original length even after years of use, ensuring your tent stays windproof and weatherproof. During setup, tent tensioners help keep the tent tensioned and erected, with some even designed to glow in the dark for easier use. Since distances to the pegs can vary, the line length can be adjusted to tie securely to stakes, strengthening and securing the tent firmly to the ground.
Tent Floor
The floor of the tent, also part of the canopy, is usually made from a more robust and waterproof material compared to the walls. This design helps to keep moisture out and provides a durable surface for sleeping and storing gear.
The Anchors: Tent Pegs
Tent pegs are nail-like structures that come in various shapes and sizes, designed to be pounded into the dirt to anchor both the outer tent and guy line to the ground. Made from durable materials like steel, titanium, or aluminum, they vary in size and shape depending on the ground conditions. For instance, harder and thinner pegs work best on tough terrain, while softer grounds like grass, sand, or snow may require different designs. I always carry extra pegs during trekking trips, as they can break or bend easily, especially in challenging conditions like stone or pebbles.
VAUDE tents come with a number of pegs sufficient for the first time setup, but the choice of pegs often depends on your destination, travel duration, and climate change. For example, aluminum, steel, iron, or plastic pegs in different lengths and weights are used to cover various possibilities. While it’s hard to account for every scenario, understanding your individual needs ensures the basic equipment is tailored to your adventure.
Securing the Tent: Tie Out Points
Tie out points are small but crucial features found on the rain fly, designed to attach guy lines that are then anchored to the ground using tent pegs. This setup provides overall structure and stability to the tent, especially during windy conditions. Additionally, most tents come with door tie backs, a simple yet effective system involving a toggle and loop that holds the rolled-up door in place, keeping the tent entrance open and accessible.
Innovations like the Sunflower Hub by DAC TOYS have revolutionized tent structures by introducing small, well-made aluminum push-fit connectors with threaded inserts. These allow designers to adjust angles and connect a different number of poles, making tent models more flexible, innovative, and user-friendly. The Hub and H-Clip further reinforce the tent structure by allowing additional bracing to be added at any departure angle, enhancing both safety and durability.
Keeping It Fresh: Ventilation
Proper ventilation is crucial to prevent the formation of condensation and moisture inside the tent. Vents allow moisture to escape, reducing the amount of condensation that builds up on the inside of the rainfly. VAUDE tents offer innovative ventilation options, such as Control Air, a window ventilation system that can be continuously regulated from the inside. Another feature is the Ventilation Hood, a rain-protected ventilation area controlled by a 4-way zipper at the tent entrance, which can be opened in both directions—from above or below—to ensure optimal airflow.
The Guardian: Bug Netting
As the name implies, bug netting is a crucial feature that prevents insects from entering the sleeping area, ensuring a peaceful and undisturbed rest. Beyond its primary role, it also helps improve ventilation, allowing fresh air to flow while keeping bugs out. For campers, these essential parts make a basic backpacking tent functional, but many prefer bringing additional tent accessories to enhance their stay and stay prepared for unseen situations. These thoughtful additions can transform a simple backpacking experience into a more comfortable and enjoyable adventure.
- Gear Lofts provide extra storage space that can be suspended from the roof of the tent, keeping belongings organized and off the ground.
- Candle Lanterns can be suspended from the ceiling, adding lighting and helping to warm the tent for a cozy atmosphere.
- Ground sheets prevent the tent from being punctured or abraded by sharp stones or pebbles on the campsite.
- Always carry a Repair kit to fix issues like a hole in the floor or broken tent poles, especially on longer backpacking journeys.
- Once familiar with the basic features of a backpacking tent, the next step is learning how to pitch a tent.
The Fabric: Polyester
Polyester (or PES) is an important basic material used in the construction of the tent skin, often coated or siliconized for added durability. As a synthetic fiber, it boasts good moisture-transporting properties and low absorbency, making it highly suitable for tents. While some people may be allergic to polyester, this is rarely a problem since there’s usually no direct contact between the body and the outer tent.
VAUDE uses only quality aluminum poles with internal rubber, making them light, flexible, and resistant to breaks. Instead of snapping, these poles bend, which is an important safety aspect as broken poles can cause severe damage to the tent skin due to their sharp-edged breaking points. To address this, each tent comes with a repair sleeve, allowing a broken pole to be quickly and easily repaired even during a tour.
Precision Engineering: Pressfit
The connecting sleeve, with its diameter increased by 0.02 mm, is pressed into the pole segment, ensuring a firmly connected fit without the need for the usual grit to fix the sleeve. This innovative design prevents the sleeve from injuring the aluminum, which is often the starting point for material fatigue.
Featherlight Design
The diameter of the rod segment is smaller but widens at the end where it receives the connecting sleeve, addressing the normally weakest point of a boom. By widening the diameter, this point is strengthened, allowing the segment to be made thinner and easier to work with. Additionally, during the first rinse, fresh water can be replaced with treated water, saving 90% of petroleum-based detergents and reducing the use of phosphoric and nitric acids.
Frequently Asked Questions (FAQ)
What is the purpose of widening the diameter at the end of the rod segment?
Widening the diameter at the end of the rod segment strengthens the weakest point of the boom, making it more durable while allowing the segment to be thinner and easier to work with.
Why is treated water used in the first rinse?
Using treated water in the first rinse helps save 90% of petroleum-based detergents and reduces the need for phosphoric and nitric acids, making the process more environmentally friendly.
How does the connecting sleeve improve tent pole durability?
The connecting sleeve is designed to fit securely into the widened end of the rod segment, reinforcing the weakest point and preventing material fatigue, which enhances the overall durability of the tent poles.
What are the benefits of making the rod segment thinner?
A thinner rod segment is lighter and easier to handle, making the tent setup more efficient without compromising strength or durability.
How does this design contribute to sustainability?
By using treated water and reducing reliance on petroleum-based detergents and harsh acids, this design minimizes environmental impact while maintaining high performance.
Widening the diameter at the end of the rod segment strengthens the weakest point of the boom, making it more durable while allowing the segment to be thinner and easier to work with.
Using treated water in the first rinse helps save 90% of petroleum-based detergents and reduces the need for phosphoric and nitric acids, making the process more environmentally friendly.
The connecting sleeve is designed to fit securely into the widened end of the rod segment, reinforcing the weakest point and preventing material fatigue, which enhances the overall durability of the tent poles.
A thinner rod segment is lighter and easier to handle, making the tent setup more efficient without compromising strength or durability.
By using treated water and reducing reliance on petroleum-based detergents and harsh acids, this design minimizes environmental impact while maintaining high performance.
Conclusion
Understanding the parts of a tent and their innovative designs, such as the widened rod segments, connecting sleeves, and the use of treated water, highlights how modern engineering enhances durability, ease of use, and sustainability. These advancements not only make tents more reliable and user-friendly but also contribute to eco-friendly practices, ensuring a better experience for campers while reducing environmental impact. Whether you’re a seasoned adventurer or a beginner, knowing these details helps you appreciate the thought and technology behind every component of your tent.